简介
Spring Boot Admin是一个管理和监控SpringBoot应用的应用,有点绕口,其实就是用来监控SpringBoot应用的,这些应用可以通过Spring Boot Admin Client或Spring Cloud自动发现的方式注册到Admin Server。
一、Admin Client方式注册
Admin Server搭建
-
引入server依赖的包
1
2
3
4
5<dependency>
<groupId>de.codecentric</groupId>
<artifactId>spring-boot-admin-starter-server</artifactId>
<version>2.2.2</version>
</dependency> -
启动类加上
@EnableAdminServer注解1
2
3
4
5
6
7
8
9
10
11
12
13import org.springframework.boot.SpringApplication;
import org.springframework.boot.autoconfigure.SpringBootApplication;
import de.codecentric.boot.admin.server.config.EnableAdminServer;
public class SpringBootAdminApplication {
public static void main(String[] args) {
SpringApplication.run(SpringBootAdminApplication.class, args);
}
}
启动项目,然后访问http://localhost:8080/,到此Admin Server就搭建好了,跟Eureka Server似的,一包一注释,仗势走天涯。

Admin Client注册
-
引入client依赖包
Spring Boot Admin是使用actuator实现的服务监控,所以在client应用中需要引入actuator的包,并开放相关的接口,否则监控的信息不完整。
1
2
3
4
5
6
7
8
9
10<dependency>
<groupId>de.codecentric</groupId>
<artifactId>spring-boot-admin-starter-client</artifactId>
<version>2.2.2</version>
</dependency>
<dependency>
<groupId>org.springframework.boot</groupId>
<artifactId>spring-boot-starter-actuator</artifactId>
</dependency> -
配置
1
2
3
4
5
6
7
8
9
10
11
12
13
14server:
port: 8888
spring:
application:
name: boot-log
boot:
admin:
client:
url: http://127.0.0.1:8080 # 指定admin-server注册地址,和Eureka更像了
management:
endpoints:
web:
exposure:
include: "*" # 暴露actuator所有接口
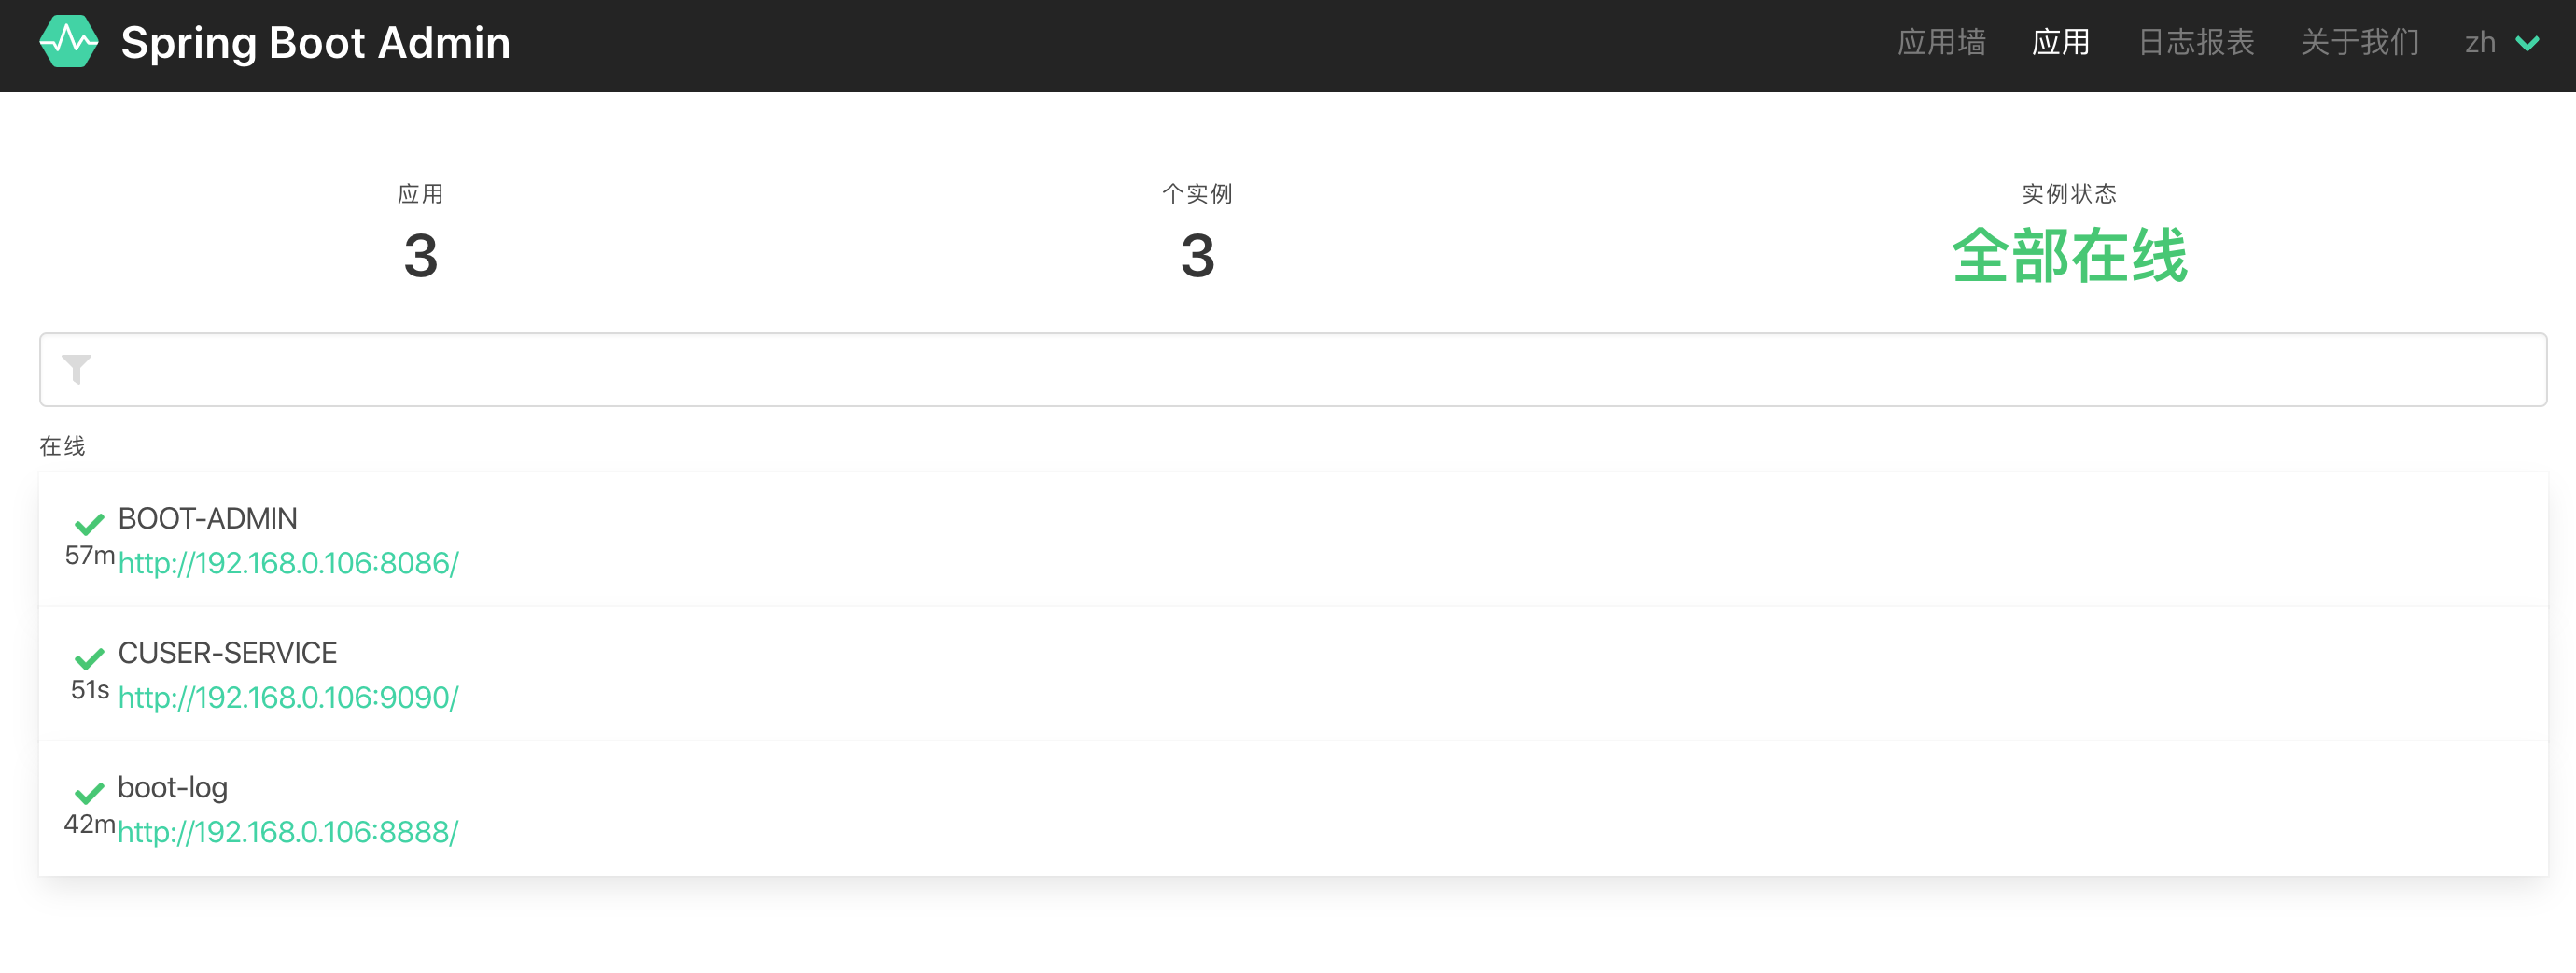
至此就完成了Admin Client端的配置,可以启动服务了,查看admin页面

二、Eureka注册中心自动发现
使用Eureka可以解放Client端的配置,不再需要给Client端配置任何东西(除actuator暴露接口列表)
Eureka Server搭建
搭建Eureka Server就不做特殊解释了,直接贴配置代码。
1 | <dependency> |
1 | server: |
1 | import org.springframework.boot.SpringApplication; |
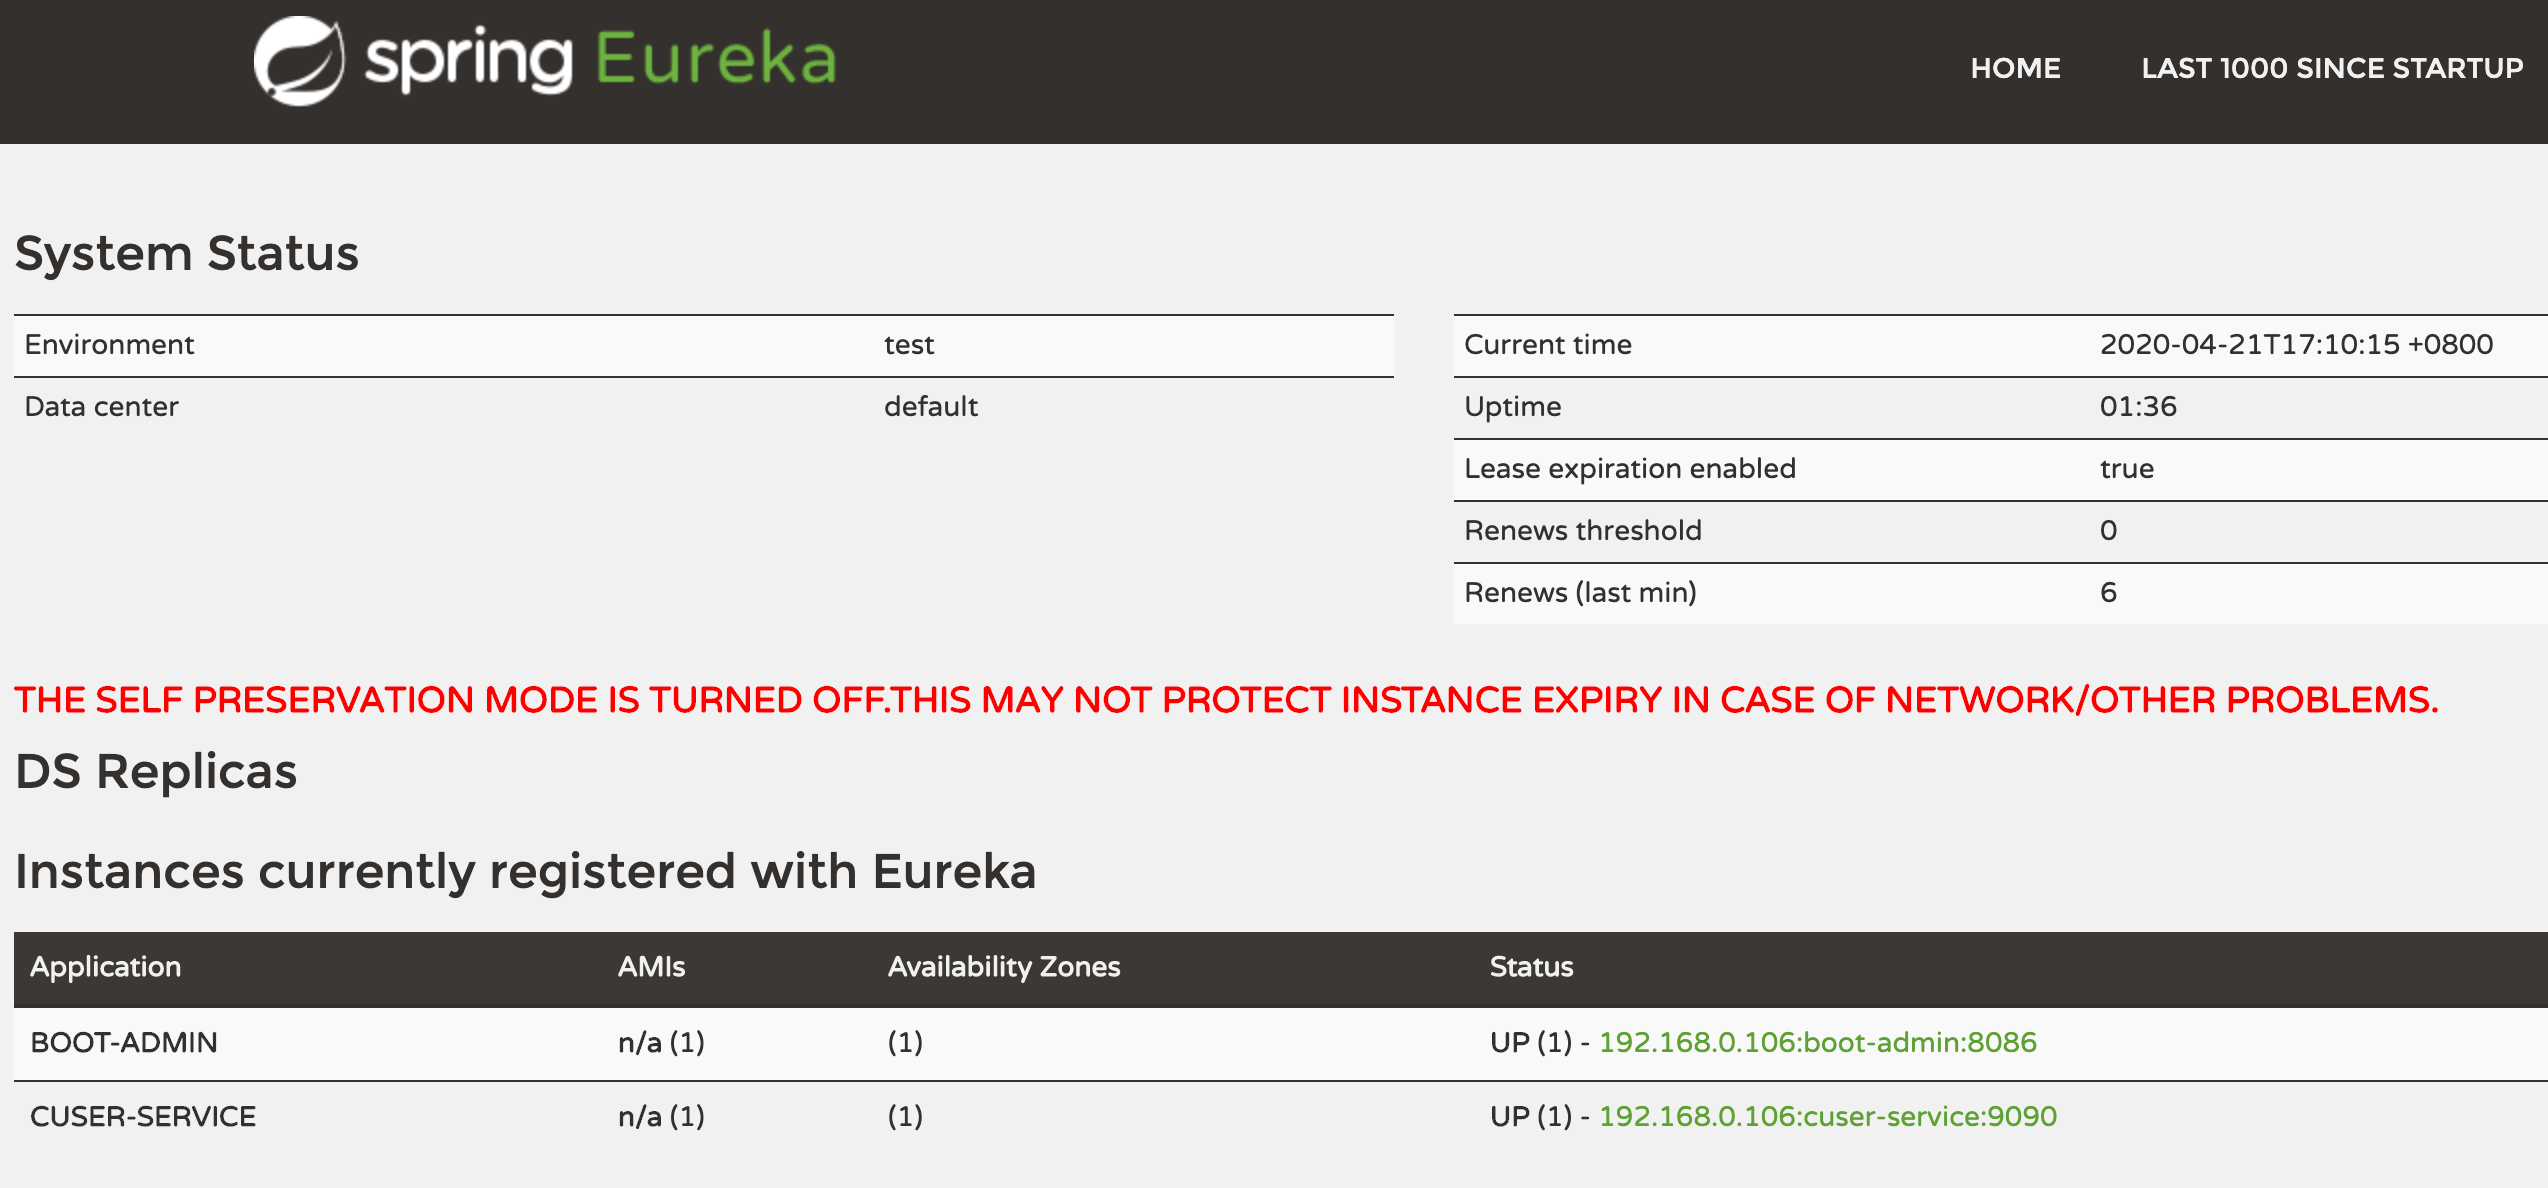
启动之后访问http://127.0.0.1:9001/进入Eureka控制台
Admin Server搭建
Admin Server的搭建方式和第一种相差无几,唯一的差别就是需要把Server应用注册到Eureka中
- 在启动类加上
@EnableEurekaClient注解 - 在配置文件中加上
eureka.client.service-url.defaultZone=http://127.0.0.1:9001/eureka配置
Admin Client搭建
Admin Client正常配置注册到Eureka,然后暴露actuator的相关接口management.endpoints.web.exposure.include=*。
启动client,查看Eureka和Admin控制台
-
Eureka Server

-
Admin Server

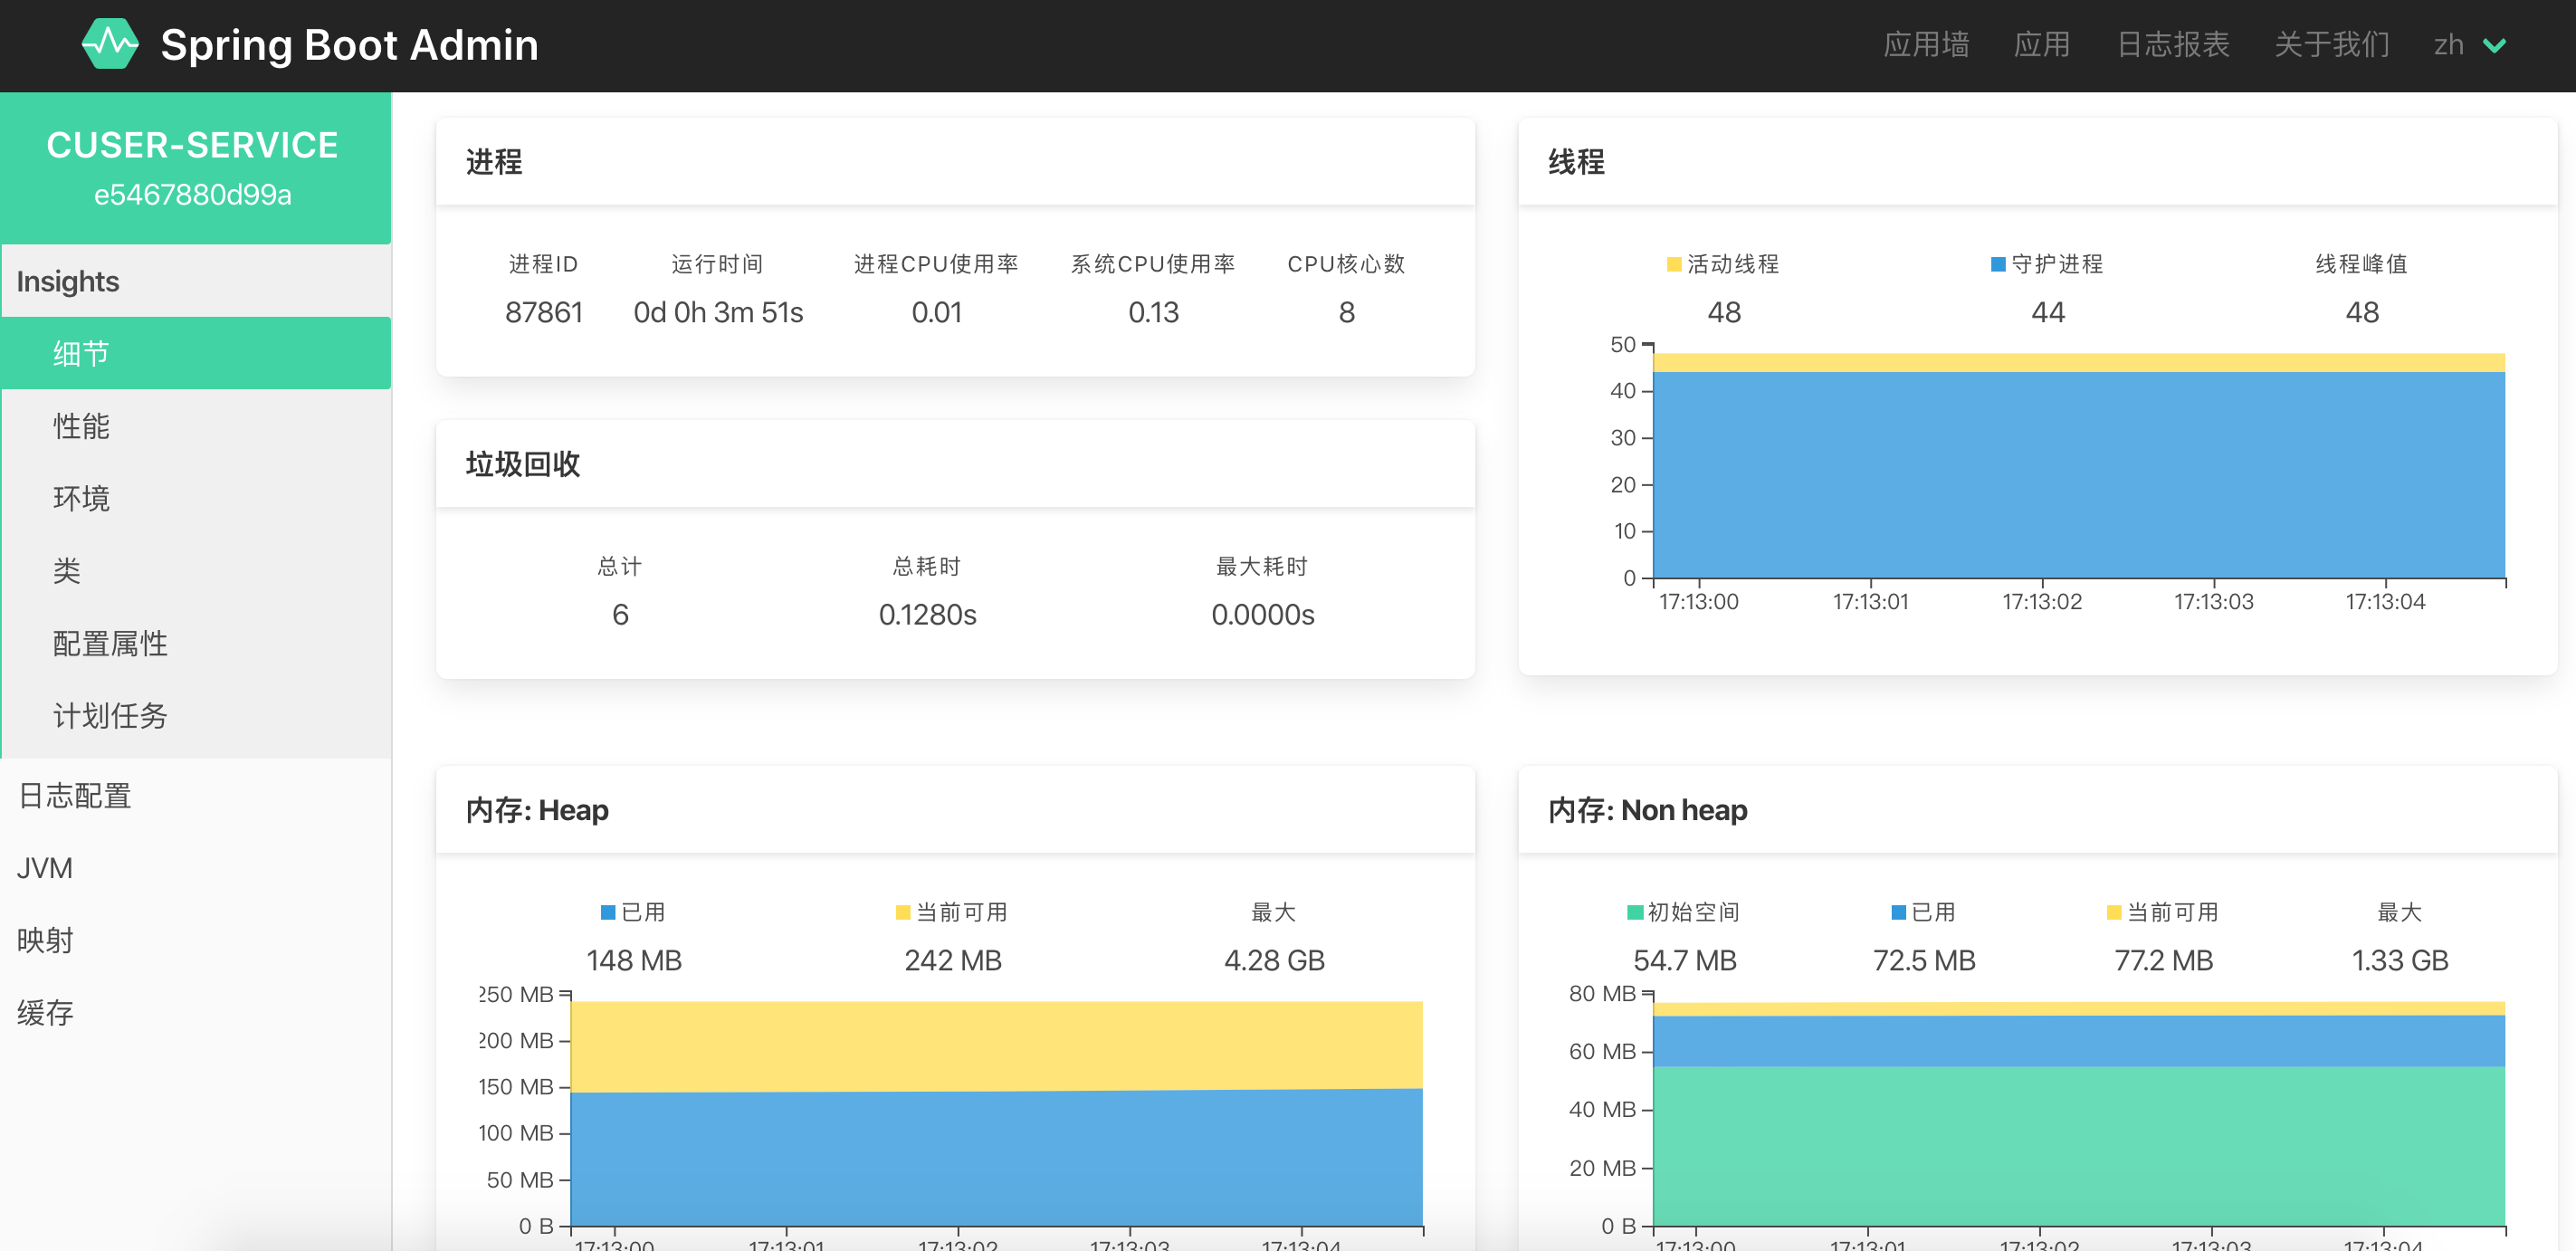
三、Spring Boot Admin提供了哪些功能

就不一一赘述了,搭建了玩玩就都明白了。
